What finish does Joanna Gaines you on cabinets
Joanna's Cabinet Finish
Hey there, if you're a fan of HGTV's Fixer Upper, you know that Joanna Gaines has some serious design chops. From rustic farmhouse to modern industrial, she can do it all. And when it comes to kitchen cabinets, Joanna has a signature finish that homeowners everywhere are trying to replicate. So, what finish does Joanna Gaines use on cabinets? Let's take a closer look.
First, let's talk about Joanna's general design aesthetic. She's all about creating a cozy, lived-in feel, which means incorporating natural materials and textures whenever possible. That's why you'll often see her using wood, stone, and metal in her designs. So, it makes sense that her cabinet finish would reflect that philosophy.
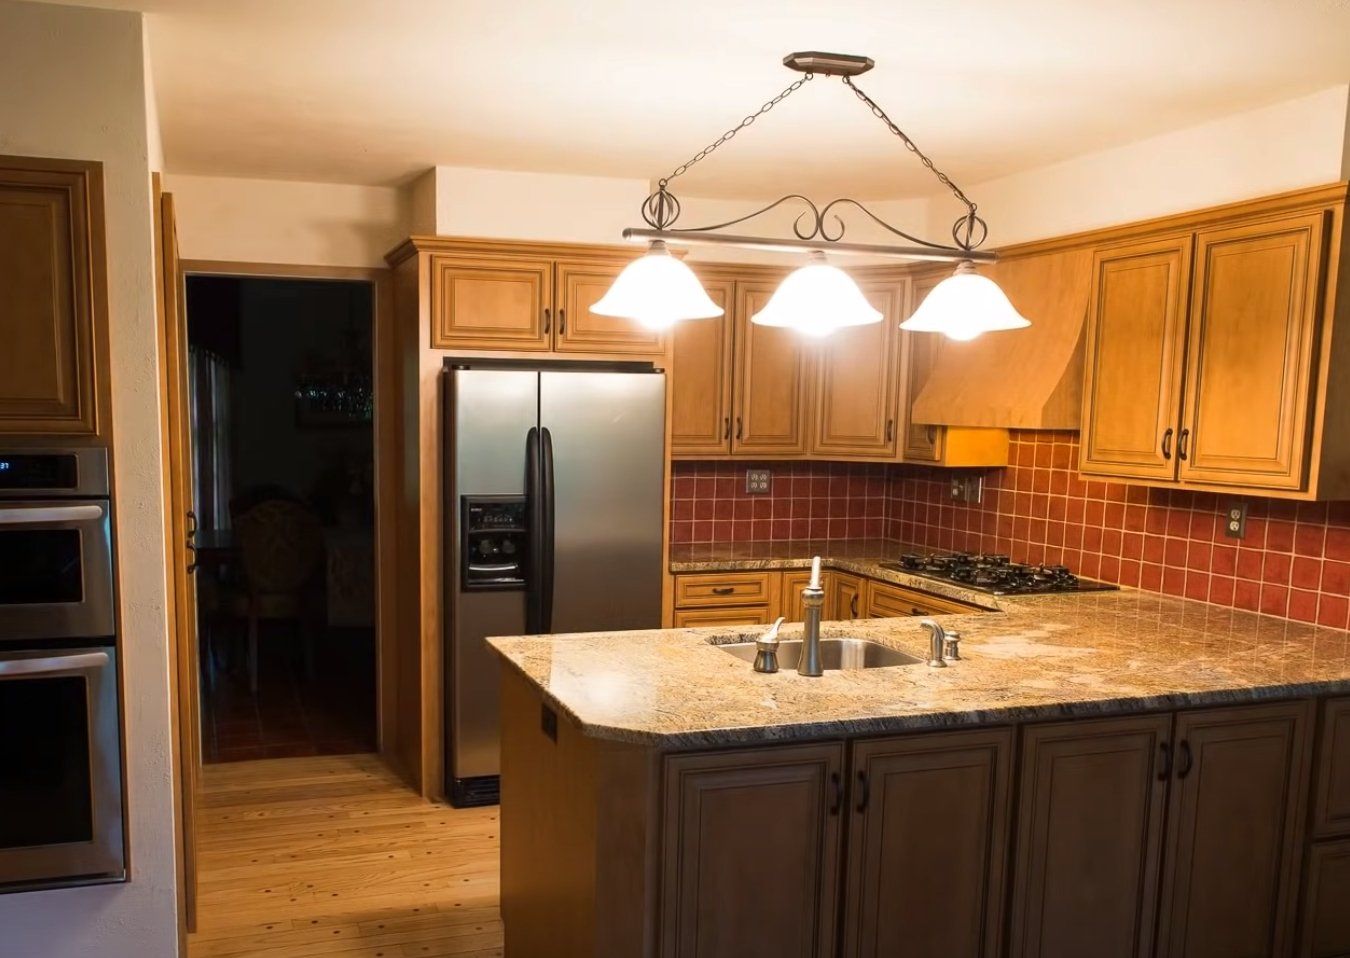
Joanna's go-to cabinet finish is a distressed, antique look. This means that the cabinets have a slightly weathered appearance as if they've been around for decades. The finish is typically achieved by applying a dark glaze over a lighter base color, then sanding down certain areas to reveal the lighter color underneath. The result is a beautiful, nuanced finish that gives the character and depth of the cabinet.
Another key element of Joanna's cabinet finish is the hardware. She loves using vintage or antique-looking knobs and pulls to add even more character to the cabinets. This is a great way to personalize your kitchen and make it feel unique.
If you're thinking about replicating Joanna's cabinet finish in your own home, there are a few things to keep in mind. First, it's important to choose the right type of wood. Joanna often uses knotty alder, a wood that has a lot of natural character and texture. This type of wood takes the distressed finish particularly well. You could also try using pine or oak, which are also good options for achieving that rustic look.
Next, you'll want to choose your base color. Joanna tends to stick with light, neutral colors like white or cream. These colors provide a nice contrast to the dark glaze that's applied later on. However, you could also experiment with other light colors like light gray or blue.
Once you've applied your base color, it's time to apply the glaze. This is where the magic happens! You'll want to choose a dark glaze that complements your base color. For example, if you're using a white base color, you could try a dark gray or brown glaze. Apply the glaze with a brush or rag, making sure to get into all the nooks and crannies of the cabinets.
After the glaze has dried for a bit, it's time to start distressing the cabinets. This is where you'll use sandpaper to remove some of the glaze and reveal the lighter base color underneath. You can distress the cabinets as much or as little as you like, depending on the look you're going for.
Finally, don't forget the hardware! You can find vintage or antique-looking knobs and pulls at flea markets or online. These little details will really make your cabinets feel unique and personalized.
So, if you're ready to update your kitchen cabinets,
give us a call at
Charlotte Cabinet Refinishing. We can't wait to help you achieve your dream kitchen!